Stickers On Your Laptop: How To Put & Remove Them Safely
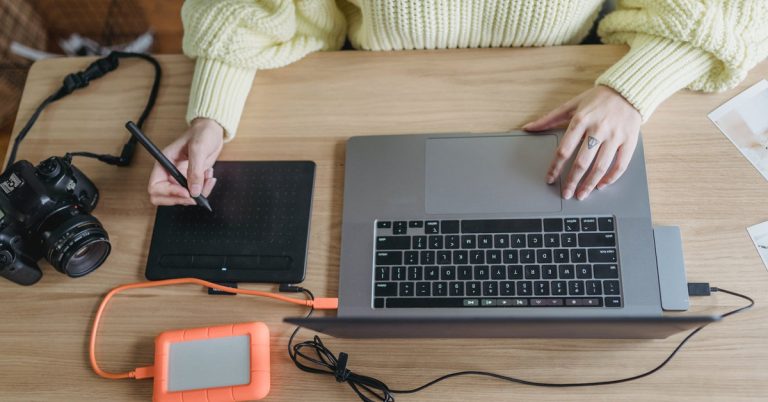
Whether you use your laptop for work or personal reasons, personalizing your laptop to suit your personality is one way people express their creativity. It’s no news that people use their laptops majorly for tech-related tasks however, this doesn’t mean your laptop shouldn’t be beautified or shouldn’t portray your personality. Along the lines of being creative and personalizing your gadget, it’s important to know if you can put stickers on your laptop and remove them from your laptop whenever you want.
If you want to beautify your laptop by putting stickers on it, you can. However, removing the stickers from your laptop is not as easy as you may think, especially if the sticker has been on your laptop for a long time and you want to remove it safely. You have to be careful while removing it.
Putting stickers on your laptop isn’t a tough process as removing them safely to not dent the laptop. In this article, I’ll share with you if you can put stickers on your laptop and remove them from your laptop, and the steps you’ll need to follow to be able to put and remove the stickers from your laptop.
Can You Put Stickers On Your Laptop?
Yes, you can put stickers on your laptops as long as you put them on the top clamshell or at the back of your laptop, that is, the opposite side of your laptop screen.
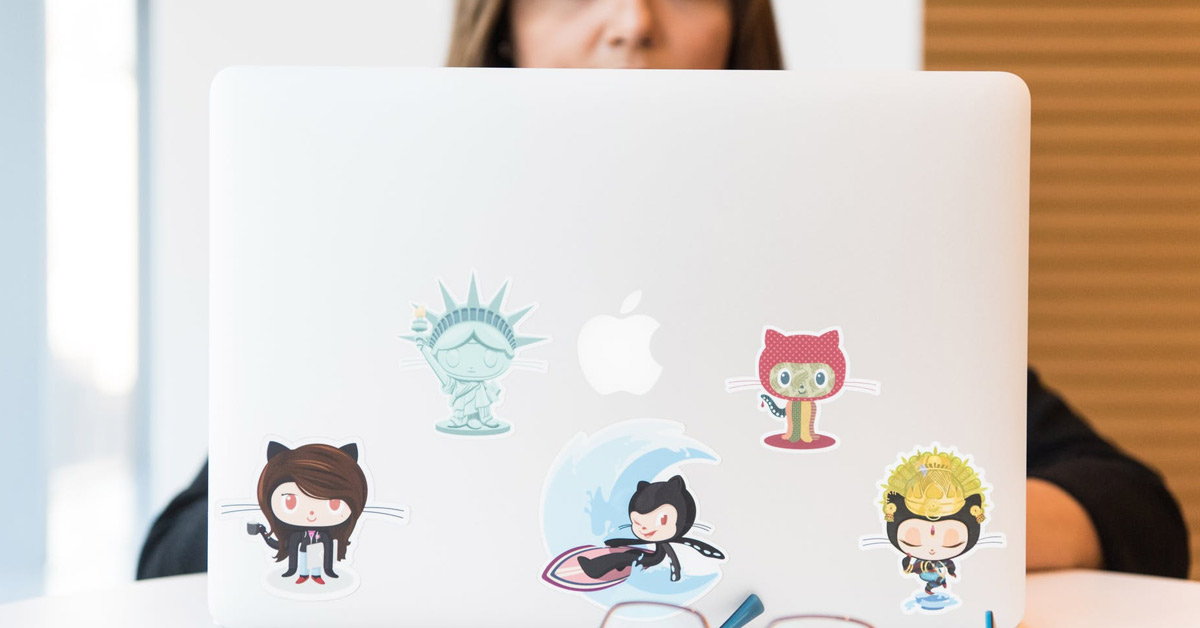
There are different ways and symbols of self-expression as it’s not only limited to clothes and trapper keeper binders anymore. Placing stickers on your laptop has been a contemporary way to personalize your multipurpose tool and also express yourself, hence if you’ve ever thought of putting a sticker on your laptop, do not worry as you aren’t wrong and you can do this easily.
When you’re wondering if putting stickers on your laptop is a bad idea, it helps to know what kind of materials you’re working with and what material is your laptop built with. A laptop computer is a petite and portable device that folds up and opens like a clamshell. The body typically consists of lightweight and very durable metals like aluminum with steel for a better structure.
Most laptops’ outer shells, especially old models from 2010 and so on, are also made of plastic. On the other hand, the outer shell can also be made with high-quality metals that have close and relating properties to the plastics.
Stickers, however, are a popular form of embellishment consisting of plastic, paper, or vinyl on one side and adhesives on the other side of the sticker which lets it stick to flat, smooth surfaces. The adhesive side of the sticker usually comes with a waxed paper liner until it’s ready to be attached to the flat surface with a bit of pressure as this is when the waxed paper will be removed and the sticker will be placed on the surface.
Whether you plan to beautify your laptop with dozens of glittering stars, old-fashioned plastic stickers, or 3D images, it highly depends on the type of material used to make your laptop and the sticker material. Now that you know the basics of what both consist of, you’ll need to know which type of sticker is compatible with your laptop. However, a typical laptop (lightweight metal or plastic outer shell cover) with a basic sticker should be alright so you don’t need to think about this and the possibility of the sticker damaging your laptop.
Can You Remove Stickers From Your Laptop?

Putting stickers on your laptop is quite easy, however, removing the stickers may be quite tough, depending on how long the sticker has been placed on your laptop, the material of the sticker, and your laptop’s material.
You may have tried to remove the stickers from your laptop and failed, leaving you to wonder if you can remove stickers from your laptop, however, worry not as you can remove stickers from your laptop in different ways safely without being bothered with the thought of you damaging your laptop.
If you use paper stickers, they may be harder to remove as they have more substances on the adhesive side of the sticker which makes them stick to your laptop for a very long time. Once you place the paper adhesive on your laptop and leave them for a very long time, they get stuck to your laptop and whenever you try to remove them, they crumble or flake off.
For instance, think of the cheap labels and price tags that you’ve had to scrape off a product only to be left with a pulpy mess of paper particles which is quite frustrating as the particles are still left on the product.
Generally, if you’re looking for the best stickers for your laptop, you should go for the more durable, glossy plastic or vinyl kind specifically made for such surfaces and materials. This way, whenever you want to remove the stickers from your laptop, it’s easier to just peel them off or remove them with sticker removers.
You can go for bumper stickers and most band or brand stickers as they do pretty well in terms of getting stuck to your laptop and you can easily remove them whenever you decide or want to because they are easily removable.
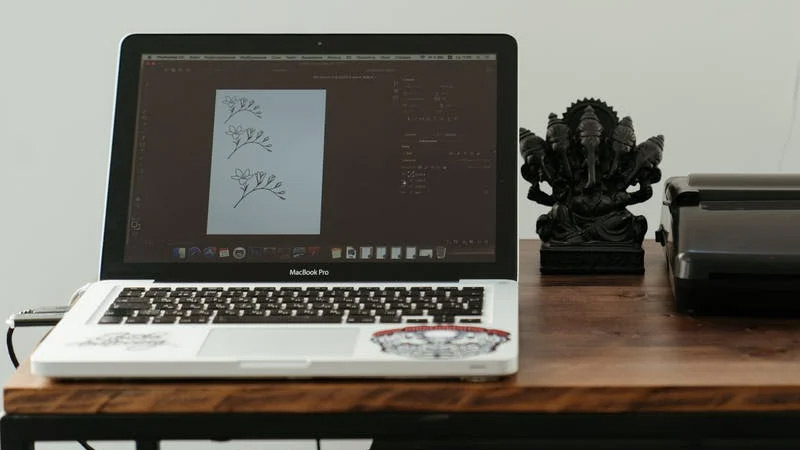
Usually, your laptop will come with a sticker, either a warranty seal, serial number sticker, or one that describes the specification of your laptop. If you’ve been observant, you’d notice that these stickers are vinyl-covered stickers that can be easily peeled off, hence, you should know that the kinds of stickers you should put on your laptop are vinyl stickers so you can easily peel them off when you want to. In the process of removing, you may need to avoid using harsh solvents, abrasives, or excessive heat that could discolor or warp the surface of your laptop.
How To Put Stickers On Your Laptop
Step 1: Choose Your Preferred Type Of Sticker

Depending on your interests or personality, choose the kind of sticker you want on your laptop and also put into consideration the sticker’s material and your laptop material. Make sure both materials are compatible so it’ll be easy to place the stickers on your laptop and also remove them. Plastic or vinyl-covered stickers should be fine.
Step 2: Clean The Laptop Case With Rubbing Alcohol
If you have oil and dirt on your laptop, it can build up and make it tough for stickers to stick to your laptop. Most people don’t clean their laptops as often as they’re supposed to and if you’re like most people, you probably do not clean your laptop as often as you’re supposed to. To help your stickers stay stuck to your laptop, dip a piece of soft cotton cloth into rubbing alcohol and rub it over the surface of your laptop both where you want to place the stickers.
If you have sticky adhesives stuck on your laptop, dip the cloth onto the rubbing alcohol and rub a little harder than usual or try a gunk and adhesive removing product.
Step 3: Peel The Back Of The Sticker
Now that you have cleaned your laptop and chosen your preferred sticker, peel the back of the sticker to reveal the sticky side of the sticker that will be placed over the back of your laptop.
Step 4: Choose The Best Placement For The Sticker
Select the best place on your laptop to place the sticker. You can choose the top of your laptop or the insides. Just make sure you don’t place it on the sensitive parts of your laptop like the mouse, keyboard, screen, or other outlets on your laptop.
Step 5: Gently Place The Sticker

Gently place the sticker over the place you’ve chosen on your laptop. Make sure the sticker is straightened and does not squeeze when you’re placing the sticker else it may ruin the outcome of the sticker placement.
How To Remove Stickers From Your Laptop
Step 1: Peel Off The Sticker
Try scraping off the sticker if it’s been placed there for under a year. If the sticker is relatively new, you should be able to peel it off without leaving much behind and if any, it’ll be sticky residue. However, if it’s longer than a year, you’ll notice while removing the sticker that the glue backing has separated from the sticker, leaving sticky residue on your laptop.
Step 2: Wipe Off Adhesive
Power off and unplug your laptop from power before you begin this process. Wipe off the adhesive with a damp, lint-free cloth. Soak the microfiber cloth in hot water and wring it out well, then begin to wipe off the adhesive till it’s been completely removed from your laptop.
Make sure not to get moisture into any openings in the laptop. Your warranty may not cover damage due to liquids hence, the need to be very careful while carrying out this process.
Step 3: Deal With The Stubborn Residue If Any

If you have some stubborn residue left after cleaning with the damp cloth, then you’ll need to use 90% rubbing alcohol. To remove the stubborn adhesive, dip a corner of the microfiber cloth into the rubbing alcohol. Use tight, circular motions to make sure that the stubborn adhesive is totally removed.